Image Processing using OpenCV
Image Processing is a technique that is used to manipulate and process an image. In this article, we will discuss about images, image resolution, and how to process an image.
Hello everyone!… Today we have an interesting topic to start on which I personally like – ”Image Processing”. Some of you might have an idea, but still, I’d like to explain it in simple terms – Image processing is basically a technique using which you can manipulate and process an image. It is a very powerful technique, and gradually you will start to get ideas realizing you can do so many things using this. So, we are going to use a python library called ”OpenCV”. Actually, C++ is used throughout OpenCV to implement all algorithms. However, these techniques may be utilized with a variety of languages, including Python, Java, etc. We’ll divide the entire topic into two parts. This article is beginner friendly easy to understand for a novice too. So, let’s start.
Must Check: OpenCV Online Courses and Certification
Must Check: Free Python Online Courses and Certifications
What are Images?
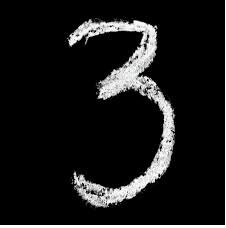
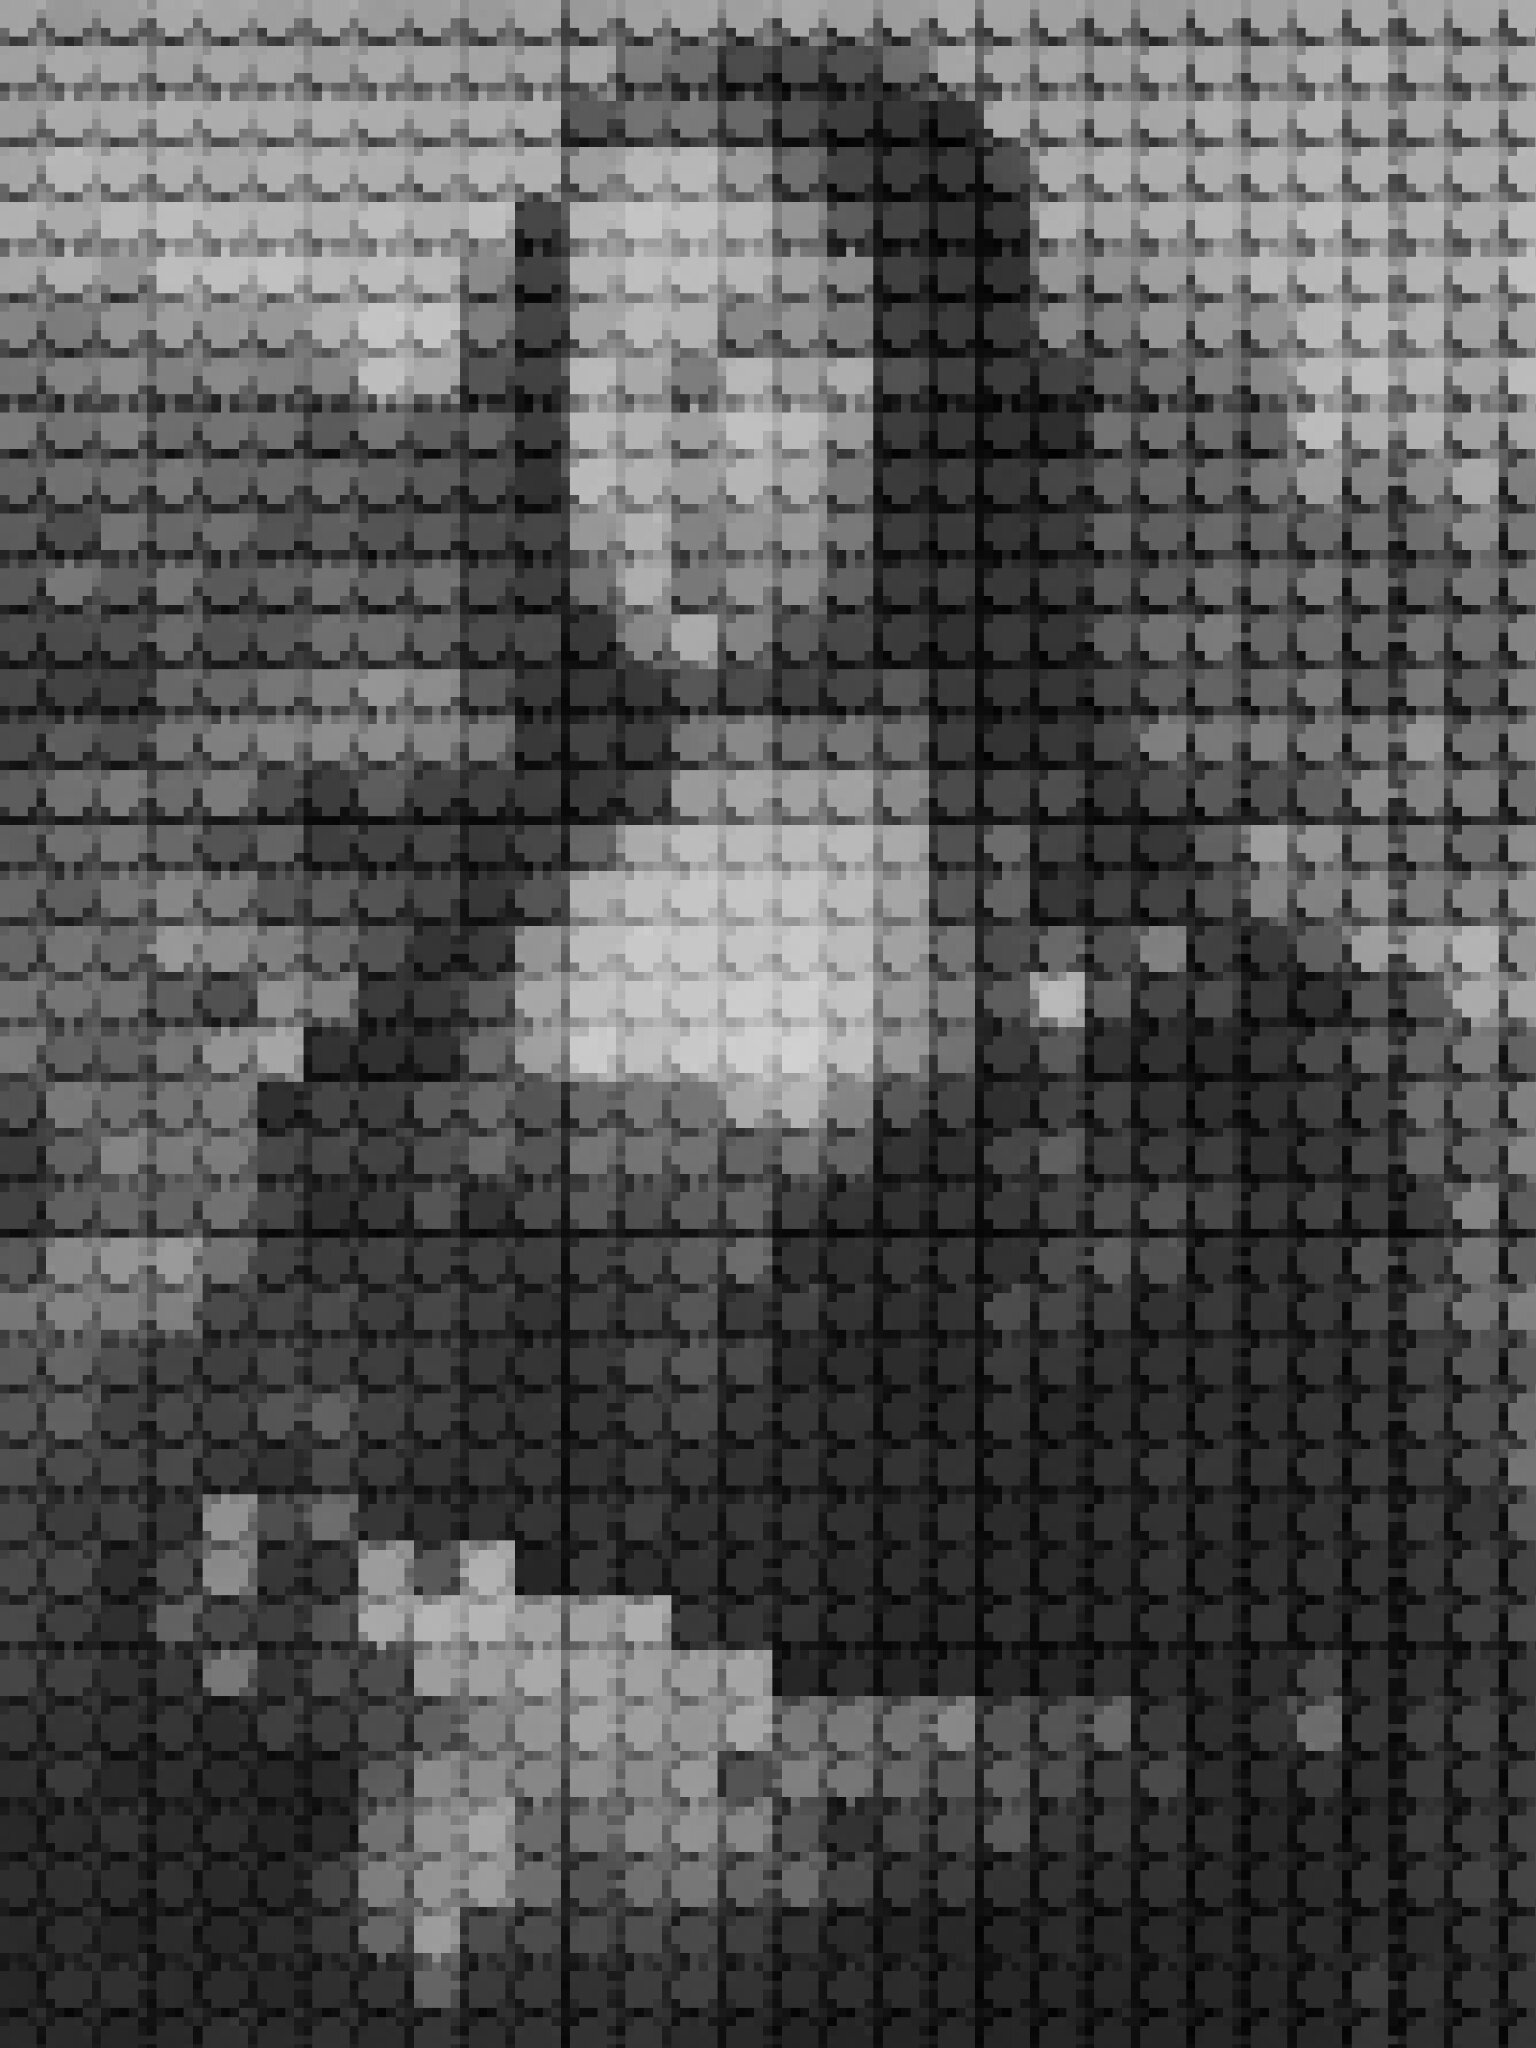
Seriously? You might wonder what kind of question this is. Believe me; this common word has a lot more to explain in itself. Basically, a matrix or array of data is called an image of multiple channels, having pixels that are arranged in tabular form, i.e., rows and columns. There are different categories of images (a) Black and White Images, (b) Grayscale Images (c) Colored Images. The simplest form of image is ”Black and White”. We are all aware that pixels make up pictures. If we consider the image below, which is a black and white image, it has two channels.
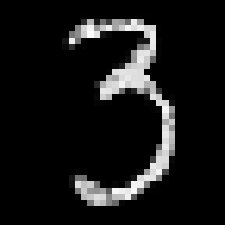
We can add more value to these image pixels; suppose instead of using 0 and 1 (black and white color or vice versa), we can use a range of values 0 to 255. So, in total, I’ve 256 values. 0 is still black, and 255 is still white. The values between this range are some shade of gray. This is known as grayscale. Whenever we use a black and white filter in our camera, we actually convert it into grayscale. The below image is a grayscale converted image. If you observe minutely, all pixels have varied grayscales whose values range from 0 – 255.
Must Check: Top Python Online Courses and Certifications
Must Read: What is Python
Now, we will walk through what is a colored Image. The answer is self-explanatory. The colored image has three channels, which are RGB (Red, Green, and Blue). In this image, each pixel stores a value between 0 to 255.


Best-suited Machine Learning courses for you
Learn Machine Learning with these high-rated online courses
What is Image Resolution?
Image resolution is basically how much detail an image holds. Higher Resolution means more detail. Example: For Full HD image the image resolution size is 1,920 x 1,080 pixels, often called 1080p. That means 1,080 pixels horizontally and 1,920 pixels vertically. Similarly, HD image resolution is 1,280 x 720 pixels, often called 720p. Ultra HD, also called 4K, has an image resolution of 3840 pixels wide by 2160 pixels tall.
Before jumping into the technical part, let us define the steps we will perform in this part-I of the article.
- Importing the required libraries
- Reading an Image
- Converting grayscale from an RGB image
- Image Resizing
- Flipping an Image
- Cropping an Image
- Saving an image
Let’s begin!!
# Tip: Always try to write down comments in your code; that will help you as well as other peers to read and understand your code much better.
By the way, I’ll be using Google Colab to work with OpenCV. You can use PyCharm as an editor. In Google Colab, mostly all libraries are installed by default, and we must bring in the library to use it, whereas, in PyCharm, you need to install the library explicitly before importing and using it. You can get many resources on google for installing any packages or libraries in PyCharm.
Must Read:
Must Read: Why use Python Datetime Module?
Must Read: Abstraction in Python
1. Importing Required Libraries:
Import numpy as np # used for linear algebra, transformations, etc.
import cv2 as cv # used for computer vision tasks
from google.colab.patches import cv2_imshow
In colab and jupyter notebook we cannot use cv.imshow() or cv2.imshow() function directly. It raises DisabledFunctionError, which means cv2.imshow() is not allowed or restricted in Colab because it breaks jupyter sessions. Instead, consider using google.colab.patches import cv2_imshow to display images. But, we use cv2.imshow() in pycharm or any other editor while working with any other python editor.
Internally, OpenCV works on Numpy arrays. So, if you are aware of the NumPy library and it’s working, then you can easily understand how OpenCV is visualizing the images read. We’ll first read an image from our local machine, and then we’ll also try to create our own image using OpenCV.
2. Reading an Image:
We’llWe’ll use imread() to read an image, and you can also check the data type of the read image (which prints that the dtype of an image is a numpy ndarray). You can also check the shape of the array as well as you can check how the open cv visualizes the image. This imread() function works in a similar manner in both colab and pycharm. It takes one parameter – image name with extension (and if the image is stored in some other drive or folder, then we need to mention the path as well).
# Code: To read image (Same for both pycharm and colab)
img = cv.imread(‘/pup.jpg’)
print(type(img))
print(img.shape)
In the above code output, we can see the class or dtype of the image is an n-dimensional NumPy array. The resolution of the picture is 130p, and there are three channels, which is a colorful image. Let’s check how to display the actual image.
Note: As discussed above, to display an image in colab, we use cv2_imshow() function of google.colab.patched which takes only one argument: image variable name whereas, while using pycharm we must utilize cv.imshow() function from main cv2 library which takes two arguments. The question arises why two arguments? So in an editor, the image is displayed on a different window which pops on the screen when cv.imshow() is called.
So, to give the name of this window, we provide it as the first argument and what image should be displayed is the second argument. Next, we need to keep in mind that while displaying the image in the PyCharm editor, the output window will pop up on the screen and will be closed in no matter of time. So to keep it displayed until we don’t close the output window explicitly, we need to take the help of cv.waitkey(0).
This function takes one argument. We’ll simply, as of now, provide the value as 0, which will induce a delay to close the window’s output implicitly until we don’t do it (0 means the window will be displayed for infinite time). This function is not required in colab or Jupyter notebook; due to its interactive version, the images are displayed below the code cell. Following is the code you can refer to the PyCharm editor and colab, respectively.
# Code: To Display Image (for pycharm editor)
img = cv.imread(‘/pup.jpg’) # read an image
cv.imshow(“Window_name”,img) # display an image
cv.waitkey(0)
# Code: To Display Image (for colab)
img = cv.imread(‘/pup.jpg’) # read an image
cv2_imshow(img) # display an image
Must Read: How to check two Python string are anagram
Must Read: Keywords in Python
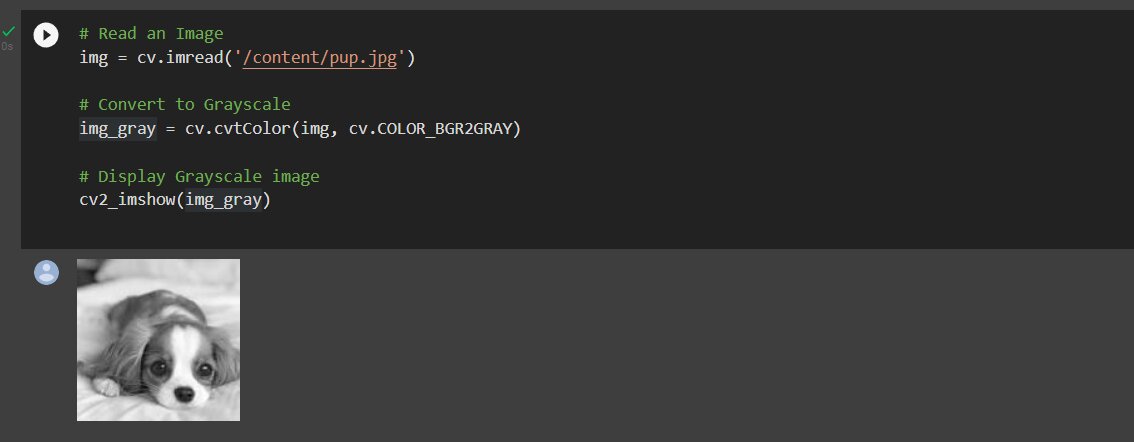
3. Converting Grayscale from an RGB image
In OpenCV, there is a slight difference in the encoding of RGB; it is BGR. So, we’ll use the cvtColor() function, which means converting color and taking two parameters: first – image variable name, second – color scheme. In our case, we’ll use COLOR_BGR2GRAY.
cv.cvtCOLOR() works in both colab and PyCharm. We also have a simple method to convert a 3-channel image (colored image) to Grayscale image without explicitly using cvtCOLOR() of the cv2 library. While reading the image, if we provide a second argument as 0, then it will automatically convert the colored picture into grayscale in one single step. Depending on the requirement, we can use either option to convert the image to grayscale.
4. Resize Image
We’ve seen above that the shape of my image is 130 x 130. We can resize the image using resize(). It takes two parameters: first – image variable name, second – new shape dimensions provided in tuples.
5. Flipping an Image:
We can flip the image using flip(). It takes two parameters: first – image variable name, second – flip code (0, 1, and -1).
0 – vertical flip (Up-side down)
1 – Horizontal flip
-1 – Combined effect of both of the above two
Knowledge tip: You use the flip function of OpenCV in deep learning during data augmentation, which is basically used to create variations in the dataset to generate more data from the given data to reduce overfitting.
Must Read: Bitwise Operators in Python
6. Cropping Image:
Cropping an image basically means you are trying to fetch a subset of the given image. There is no actual function of OpenCV to crop an image. We’ll use basic NumPy slicing to fetch the subset of an image. Example: img[height axis, width axis]
Note: This is not supported by Google Colab, but you can try the below code in any ide like PyCharm or so.
The origin coordinates (0,0) of an image are at the top left corner for any image. The vertical axis is “Height,” and the Horizontal axis is “Width.” So, any time you crop an image, the first slicing index will always be height, and the second slicing index will be the width.
Must Read: How to Find the Factorial of a Number Using Python
7. Save an Image:
We can save our new image using imwrite(). It takes two parameters: first – the name of the image file, and second – an image that we have to save.
On the left side, you can see that the flipped image has been saved in our local storage.
We’re done with the first part of our image processing with OpenCV. Hope you enjoyed it. In the second part of the article, we’ll learn more new techniques to work with our images and definitely try to build small applications where well we’ll use all those techniques. Also, we’ll have a glimpse of working with videos using OpenCV. Keep an eye out for the following article. Until then, bye.
Must Read: Top 10 Powerful Python Libraries for Data Science


This is a collection of insightful articles from domain experts in the fields of Cloud Computing, DevOps, AWS, Data Science, Machine Learning, AI, and Natural Language Processing. The range of topics caters to upski... Read Full Bio


